How to Throw in Paper To Plane
Charge, launch, steer, and turn clean flights into coins and world progress.
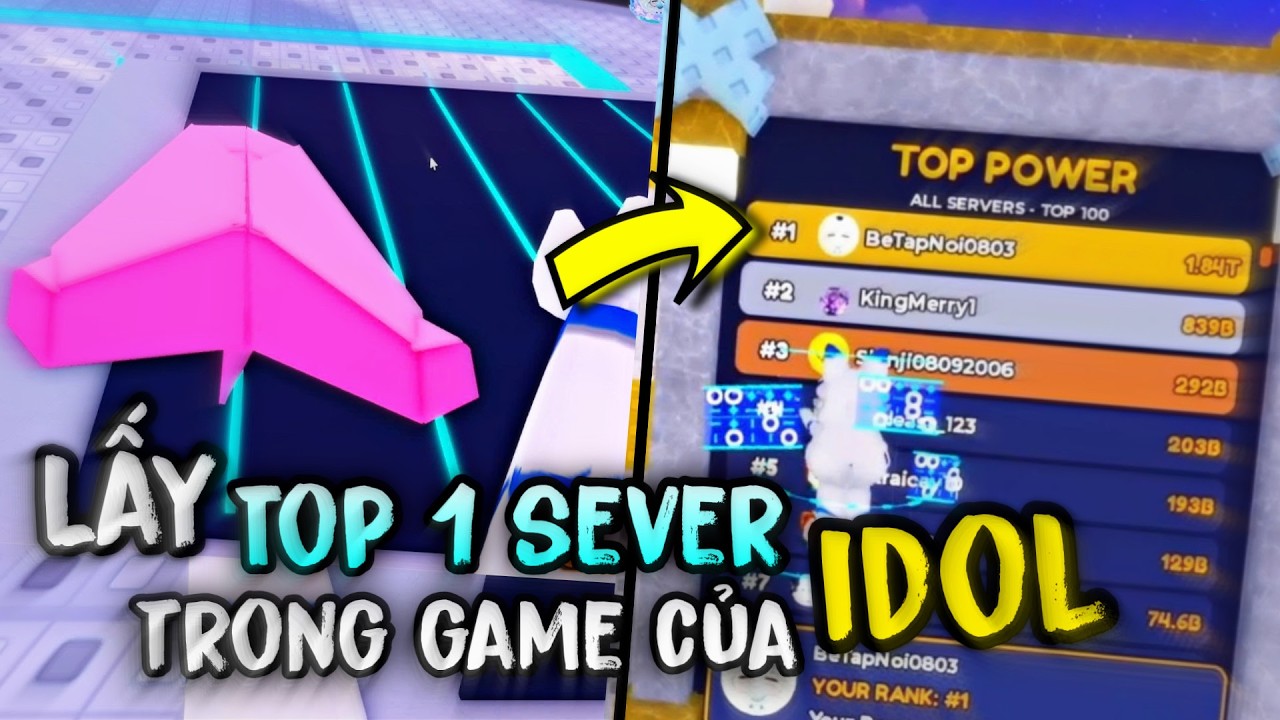
Throwing is the heartbeat of Paper To Plane. Training fills your power meter; folding, pets, and auras multiply it; but only a launched plane converts that stack into distance, coins, and island gates. Bad throws waste potions and rebirths. Clean throws refund paper shops, fund eggs, and make the next world feel reachable instead of gated forever.
This page assumes you already skimmed Getting Started. Use it whenever your distance bar stalls and you cannot tell whether the problem is raw power, plane stats, or steering. Pair it with Worlds and Progression for island-specific courses and with the Planes Tier List when a stronger craft would widen your correction window.
Charge and launch
Before you throw, confirm three things: you are on a power band that matches the course, your best plane is equipped, and pets plus auras are actually slotted — inventory pets do nothing mid-flight. If you just claimed codes, equip Cyber Devil from BIDAITHAN and any temporary RELEASE power potions only when you are ready to launch, not while shopping. Exact redeem steps live on Codes.
The launch itself is a commit. Charge or confirm the throw UI, then send the plane into the course. Early worlds forgive messy starts; later islands punish low exit speed and bad entry lanes. Treat the first second of flight as setup: settle into a clear corridor before you hunt pickups or teleports. Spamming launches without looking at the opening obstacle belt is how AFK-style coin farms look busy while the distance bar barely moves.
If power feels “almost enough,” do one more machine block on your highest unlocked pad instead of burning a potion on a doomed attempt. Training and Rebirth covers when that extra pad session beats another blind throw.
In-flight steering
After launch you steer. Paper To Plane is not a pure autofire distance check — collisions dump energy and cut how far the plane stays alive. Look ahead for dense clusters of energy blocks, props, and seasonal clutter. Micro-adjust early. Late panic swerves into walls are usually worse than a slightly longer open lane.
Steering habits that pay off on launch-week maps:
- Prefer open corridors even when a “shortcut” looks tempting through a prop belt.
- Keep altitude changes smooth; jagged bobbing clips ceilings and floors you could have cleared.
- Learn where mid-course teleports or safe lanes sit so you are not discovering them on a potion timer.
- Copy high-rebirth players’ lines when you see them sail a stretch you always fail — then practice that line without potions.
Speed on your plane matters here. A craft with a better speed stat gives a wider correction window when you mis-read a gate. Power keeps the plane alive longer against drains. Coin multipliers refund the economy after a successful clear. Rank those stats for the next obstacle, not for lobby flex — details on Planes Tier List.
Reading obstacles and the distance bar
The distance bar is the real quest tracker. Coins are the byproduct of filling it cleanly. Watch where the bar stalls: early stall usually means under-powered launch or a first-belt collision; mid-course stall often means a dense prop cluster you keep clipping; late stall can mean you survived the hard part but lacked energy cushion for the finish volume.
Diagnose with one change at a time:
- Same plane, more power — train or pop a short power potion, then retry the same line.
- Same power, better steering — one focused practice throw with no shop visits between attempts.
- Same power and line, better plane — equip a fold or Cyber Devil upgrade that improves power or speed.
- Same loadout, new world knowledge — study the course once after an Updates map tweak before calling the gate unfair.
If every attempt dies at the same prop, the prop is the lesson. Do not rebirth, fold, and buy eggs in the same panic session hoping something random fixes it. Pick the weakest link.
Low power versus bad steering
Players often blame “the game” when two different failures look identical on the HUD. Use this split:
Power too low. The plane feels soft immediately, drains even on clean air, and never reaches the mid markers other players hit. Fix with machines, rebirth multipliers, equipped pets, auras, and power potions. See Training and Rebirth and companion notes on the Players Hub.
Bad steering. You reach dense sections with energy left, then slam a predictable cluster. Fix with practice lines, a higher-speed plane, and calmer inputs. AFK or auto-throw tools may farm hub coins but still fail gate clears that need human steering — read safety notes on Scripts before trusting automation near progression checks.
Outdated plane. Power and steering feel fine on World 1, then new islands shred you despite potions. Fold a batch on current island paper (Folding Planes) or confirm Cyber Devil still beats your warehouse crafts.
Multiplier gap. Pets unequipped or aura slots empty make every throw poorer. Hatch and equip before you call the course impossible — Pets & Eggs and pet tiers.
Tips for clean flights
- Warm up with one unscored practice throw after joining a new server or after seasonal obstacle skins appear.
- Pop power or coins potions only when the course is loaded and you are mid-hot streak, not while browsing Shop.
- Buy paper in batches after a clean coin refill; island paper sellers often sit behind short cooldowns, so plan folds around successful throw blocks instead of one panic sheet.
- Keep machine repairs funded — a broken pad after a good throw session stalls the next power top-up.
- Trails are cosmetic. They do not fix collisions.
- When you clear a gate, immediately note which lane worked; write it mentally before celebrating in chat.
A strong throw session looks boring on purpose: train, focused launches, coin bank, spend on the next bottleneck, repeat. Random shop browsing between every flight breaks rhythm and burns potion windows.
How throws feed the rest of the loop
Clean distance fills coins. Coins buy paper (~session batches, respecting island seller cooldowns), eggs, tickets, and repairs. Paper folds into better planes for the next throw. Eggs hatch pets that multiply training and throw income. Aura Tickets add another multiplier layer. Rebirth raises the floor so the same clean line goes farther. Worlds raise obstacle density so yesterday’s “easy clear” becomes today’s skill check.
That is why this guide links sideways instead of ending at “press throw.” After you can land consistent flights, optimize folds, then lock rebirth cadence, then push islands:
- Getting Started — day-one order
- Folding Planes — paper timing and rarity
- Training and Rebirth — power floor
- Worlds and Progression — gates and paper stock
- Pets & Eggs — companion multipliers
- Legendary Planes — late craft chase
- Guides Hub — full map of walkthroughs
Join Discord from the Links Hub when creators post new line videos after patches, and keep Updates bookmarked when BH STUDIO changes courses.
Master throwing and every other system gets cheaper. Miss the distance bar and no amount of warehouse flex will clear the next island.
Frequently Asked Questions
Quick answers to the most common Paper To Plane questions.
Why does my plane die so early after launch?
Usually low power, a first-belt collision, or an outdated plane. Train on your best machine, practice the opening lane, then compare Cyber Devil or a fresh fold.
How do I know if I need more power or better steering?
If energy drains in open air before mid markers, train more. If you reach dense props with energy left and still crash, fix your line or plane speed.
Should I use potions on every throw?
No. Save short power or coins potions for focused clear attempts or hot streaks, not for casual hub launches while you browse menus.
Do pets and auras affect throws?
Yes. Equipped pets and auras multiply training and throw income; unequipped pets waste the entire flight economy.
What should I read after this throw guide?
Continue with Training and Rebirth for power, Worlds and Progression for gates, and Folding Planes or Pets & Eggs when coins are the bottleneck.